Introduction
Cleaning a senior dog’s ears is one of those grooming tasks that most owners either do too rarely or skip entirely until the dog starts showing signs of discomfort. By that point the situation has usually moved past routine maintenance and into territory that needs veterinary attention before any home cleaning takes place.
This guide covers how to approach cleaning a senior dog’s ears correctly, what to check before you begin, how to recognise the difference between normal wax and early infection, and why older dogs need more consistent ear care than younger ones.
Table of Contents
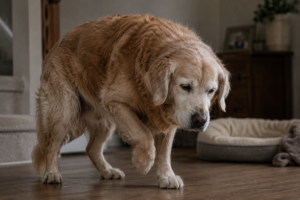
Why Ear Care Becomes More Important as Dogs Age
The ear canal of an older dog changes in ways that make problems more likely and faster to develop than in a younger dog.
Glandular activity in the ear shifts with age. Some older dogs produce more wax than they did when younger. Others develop drier, flakier debris as secretion patterns change. Either way, the balance inside the ear canal that keeps it healthy is easier to disrupt in a senior dog, and disruptions tend to develop into full infections more quickly because the immune response is less robust than it once was.
The skin lining the ear canal becomes more fragile with age. Cleaning done with too much force, the wrong product or implements inserted too deeply causes more damage in a senior dog than it would in a younger one. This makes technique more important, not less, as the dog gets older.
Underlying conditions that become more common in older dogs, including hypothyroidism and immune-mediated conditions, frequently have ear problems as a secondary consequence. A senior dog that develops recurring ear infections despite regular cleaning warrants a full veterinary assessment to identify the underlying cause rather than continued treatment of the ear in isolation.
The practical result of all of this is that ear checks need to happen more frequently in older dogs, early signs of a problem need a faster response, and the approach to cleaning a senior dog’s ears needs to be more careful and deliberate than it may have been when the dog was young.
What Healthy Senior Dog Ears Look Like
Before you can identify a problem, you need to know what normal looks like.
Healthy ears smell neutral. There is no odour, or at most a very faint, inoffensive scent. Any smell you notice from a normal conversational distance is a signal that something is developing inside the canal.
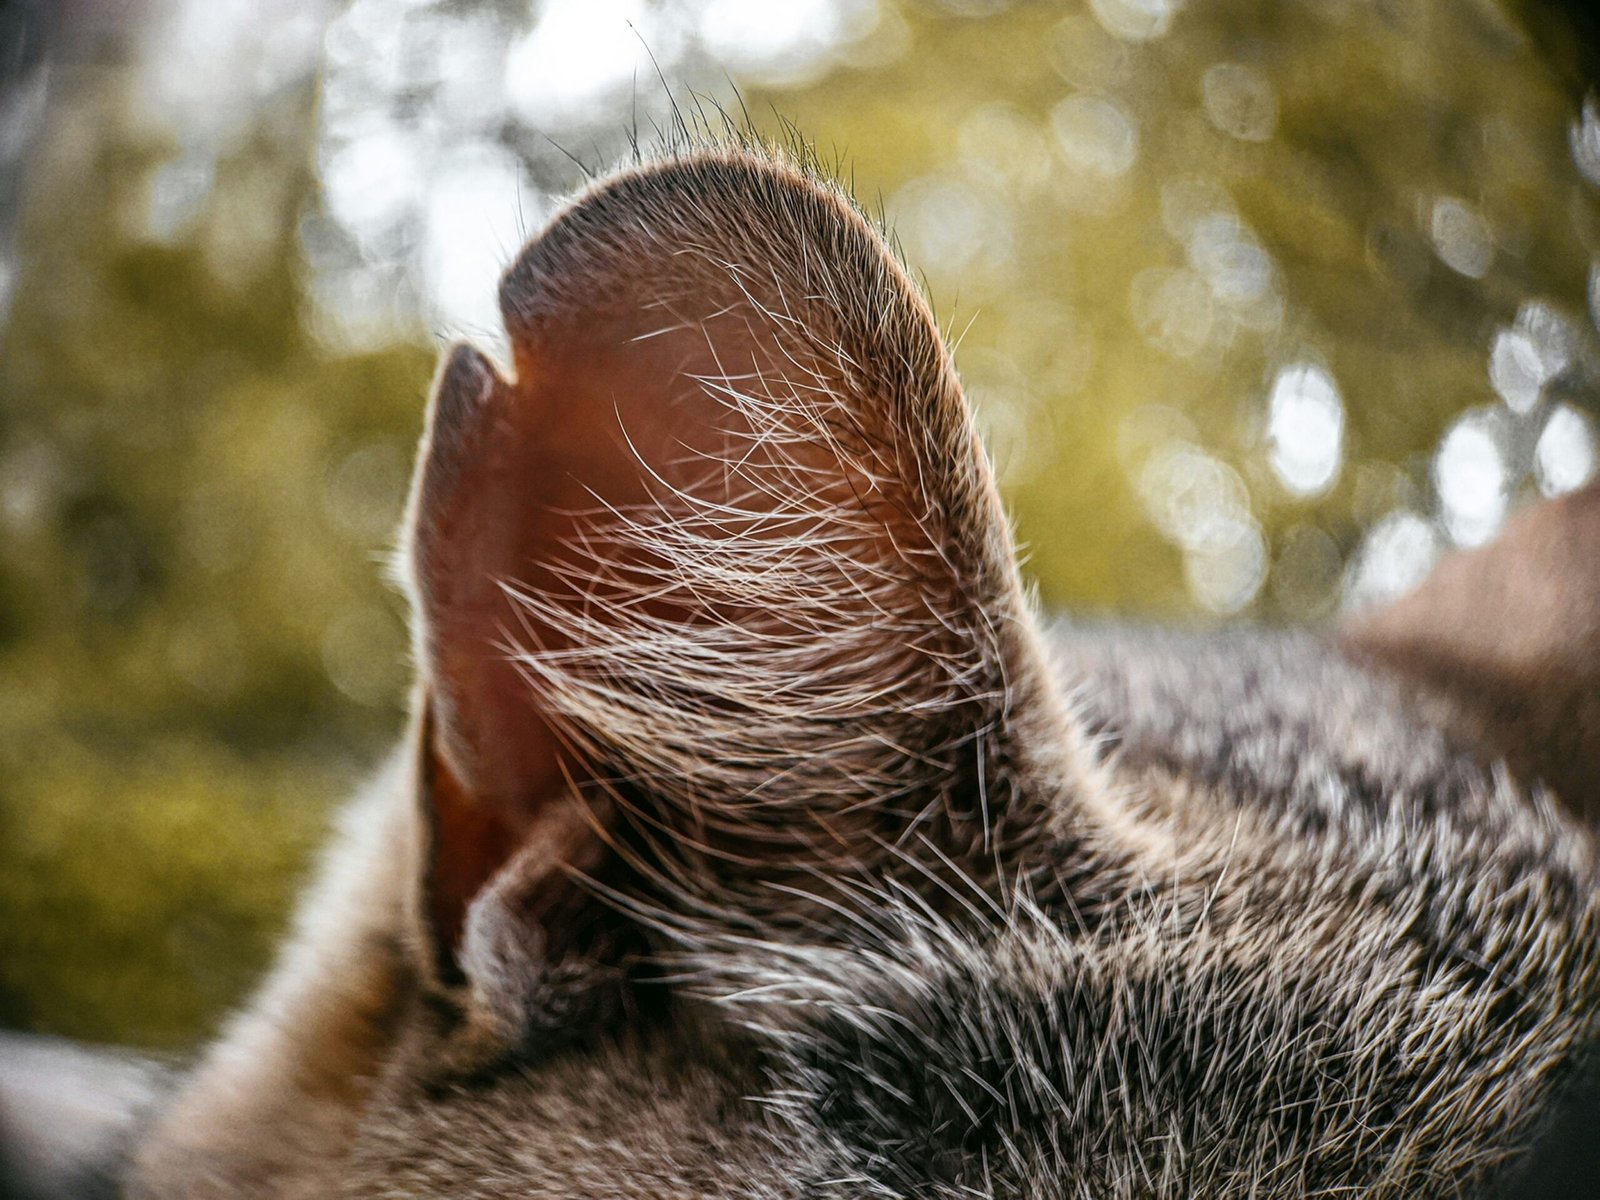
The visible skin inside the outer ear flap is pale pink and smooth. There is no redness, no swelling and no thickening of the skin surface. A small amount of pale to light brown wax is normal. The wax should be soft and evenly distributed rather than dark, thick, crumbly or present in large quantities.
The dog shows no interest in its ears between checks. It does not scratch at them, shake its head repeatedly, tilt its head to one side or rub its ears against furniture or the floor. Any of these behaviours indicates discomfort inside the canal that needs investigation before any cleaning takes place.
Check the ears in good light. Lift the ear flap fully and look at the visible portion of the canal. You should be able to see clearly into the upper portion. Any discharge, dark debris, redness or swelling in this area is a reason to consult a vet rather than proceed with home cleaning.
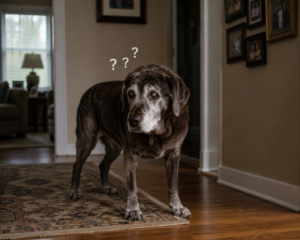
When Not to Clean a Senior Dog’s Ears at Home
Most grooming guides skip this section. It is the most important one.
Do not attempt cleaning a senior dog’s ears if there is any sign of infection. Cleaning an infected ear at home without addressing the underlying infection first drives debris and bacteria deeper into the canal. It does not improve the situation. It makes it worse and more painful for the dog.
The signs that indicate a vet visit is needed before any home cleaning are: dark brown or black discharge resembling coffee grounds, which commonly indicates ear mites or yeast infection; any discharge that is yellow or green or has a wet, foul odour; visible redness or swelling inside the ear flap or at the entrance to the canal; the dog reacting with pain when the ear is touched; a noticeable change in hearing or a persistent head tilt; or any sudden change from what the ears normally look and smell like.
If you are uncertain whether what you are seeing is normal wax or the beginning of a problem, err on the side of a vet check. Treating a healthy ear unnecessarily causes minor disruption. Missing an early infection in a senior dog and allowing it to progress causes significant pain and potentially permanent damage to the canal.
What You Need Before You Begin
Cleaning a senior dog’s ears at home requires minimal equipment, but using the right products matters.
A veterinary-approved ear cleaning solution is the only product that should go into the ear canal. Do not use water, olive oil, hydrogen peroxide or any product not formulated specifically for canine ear cleaning. Water left in the canal creates a moist environment that encourages bacterial and yeast growth. Products not designed for the ear canal disrupt the pH balance and cause irritation.
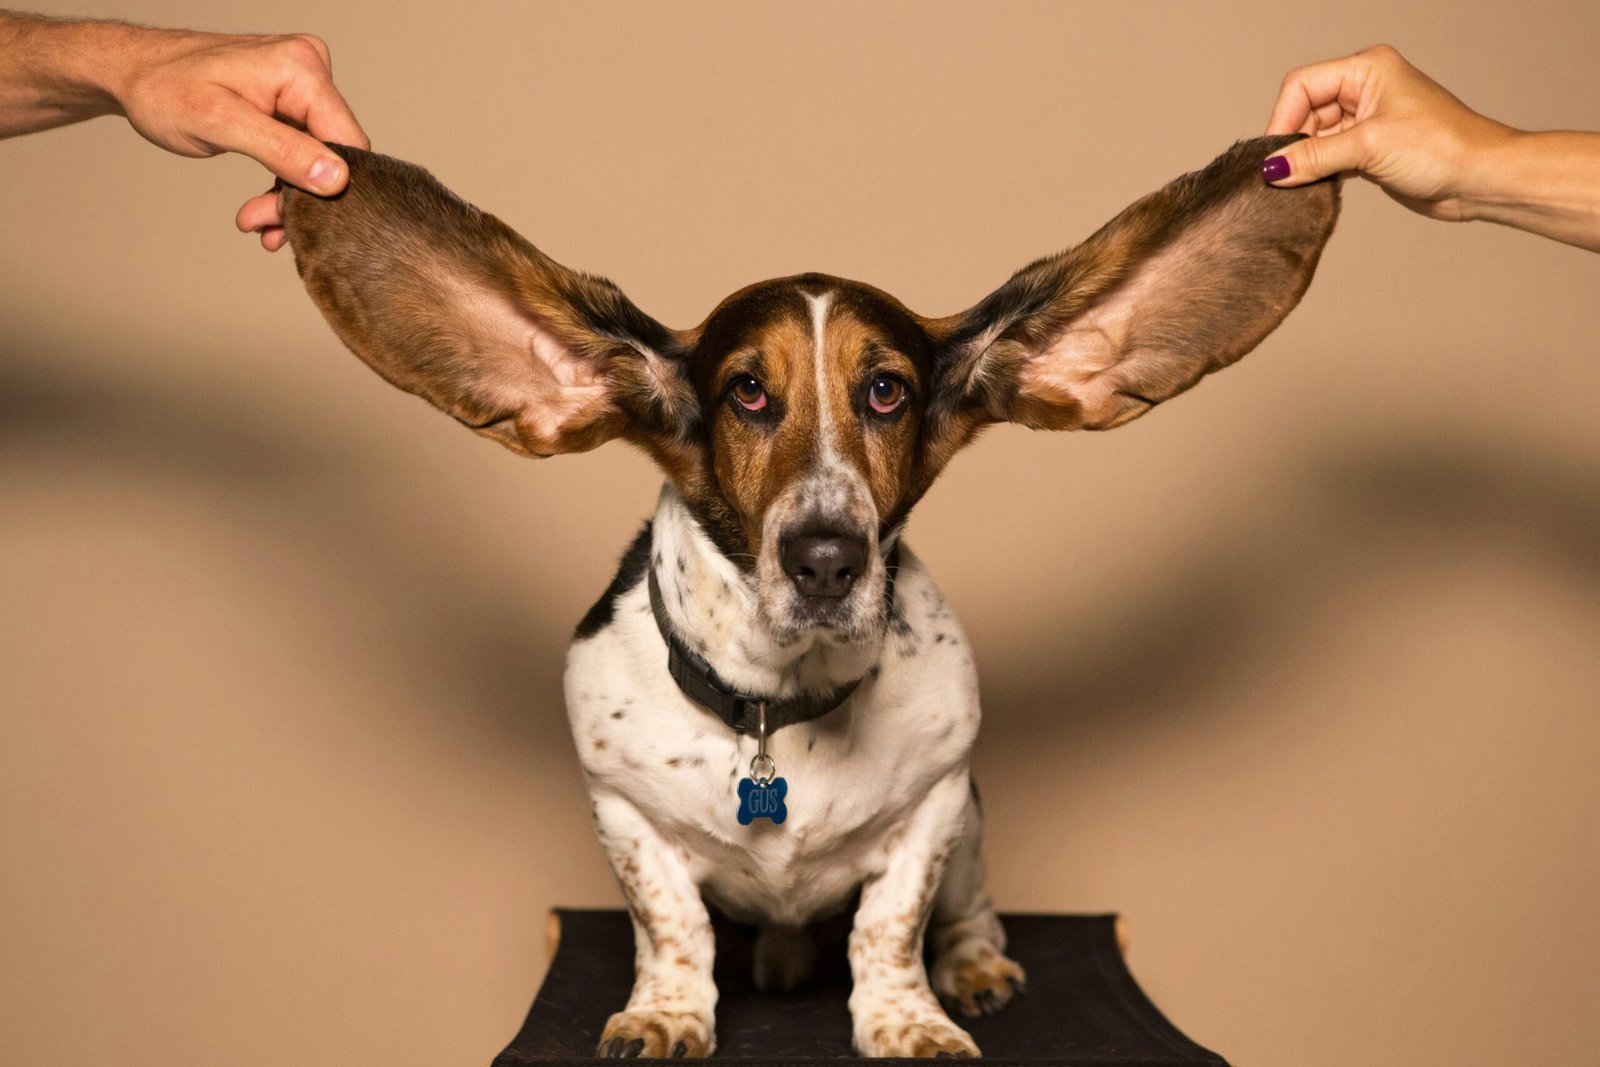
Cotton pads or soft gauze are appropriate for cleaning the visible outer surface of the ear. Cotton buds must never be inserted into the ear canal. The canal of a dog turns at an angle, and inserting a cotton bud pushes debris around the bend rather than removing it. It also risks damaging the delicate skin lining of the canal or, in the worst case, perforating the eardrum.
Have treats ready. Cleaning a senior dog’s ears is a process the dog needs to associate with something positive, particularly if it has had ear problems in the past and associates ear handling with discomfort.
How to Clean a Senior Dog’s Ears Step by Step
Step 1: Settle the dog in a comfortable position. A senior dog with joint stiffness or reduced mobility is most comfortable lying on its side for ear cleaning. This removes the demand of standing and keeps the dog stable throughout the process. If the dog prefers to sit, that works for some individuals, but lying down is easier for most older dogs and easier for you to work with.
Step 2: Examine the ear before you clean. Lift the ear flap and check the visible canal against the criteria for healthy ears covered above. If everything looks normal, proceed. If anything looks or smells different from usual, stop and contact your vet.
Step 3: Apply the cleaning solution. Hold the ear flap up and apply the recommended amount of ear cleaning solution directly into the canal opening. Most products specify an amount on the label. Do not insert the nozzle deeply into the canal. Apply at the entrance and allow the solution to run in naturally.
Step 4: Massage the base of the ear. Once the solution is in, fold the ear flap down and massage the base of the ear gently for twenty to thirty seconds. You should hear a soft squelching sound as the solution moves through the canal and loosens debris. This is the part of the process that does the actual cleaning. The solution works by softening and dislodging debris so it can move out of the canal on its own.
Step 5: Let the dog shake. Stand back and let the dog shake its head. This is a normal and helpful part of the process. The shaking moves loosened debris from the deeper parts of the canal toward the opening where it can be wiped away.
Step 6: Wipe the outer ear. Using a cotton pad or soft gauze, wipe away any debris visible at the entrance to the canal and on the inner surface of the ear flap. Work from the inside outward. Do not push the pad into the canal. Clean only what is visible and accessible without inserting anything.
Step 7: Reward and repeat on the other side. Give the dog a treat immediately after each ear. Then assess whether the second ear needs cleaning in the same session or whether the dog needs a short break first. For a dog that finds ear cleaning stressful, cleaning one ear per session is a reasonable approach that still maintains the routine.
How Often to Clean a Senior Dog’s Ears
The right frequency depends on the individual dog and the breed.
Dogs with upright ears that allow good airflow need less frequent cleaning than those with floppy ears that trap moisture and warmth inside the canal. For most dogs with upright ears, checking weekly and cleaning when there is visible wax accumulation is appropriate. This may mean cleaning every two to four weeks under normal circumstances.
Dogs with floppy ears, including Spaniels, Retrievers, Basset Hounds and similar breeds, need more frequent attention. The enclosed environment inside a floppy ear is warm and moist, which creates ideal conditions for yeast and bacterial growth. Weekly checks and cleaning every one to two weeks is appropriate for these breeds, and more frequently during summer when heat and humidity add to the risk.
Senior dogs that swim regularly need their ears dried and checked after every swim. Water trapped in the canal after swimming is one of the most common triggers for ear infections in dogs of any age, and the reduced immune response in an older dog makes the risk higher.
After every bath, check the ears and dry the visible outer canal with a cotton pad. Even if water did not enter the canal directly, the humidity of a bathing session can be enough to shift the environment inside the ear toward conditions that favour infection.
Breeds That Need Extra Attention
Cleaning a senior dog’s ears is particularly important for breeds that carry a structural predisposition to ear problems.
Cocker Spaniels are the most commonly cited example. The heavy, pendulous ear flap creates a closed environment that restricts airflow almost entirely. Senior Spaniels need ear checks at every grooming session and cleaning at least weekly, more frequently during warm or humid periods.
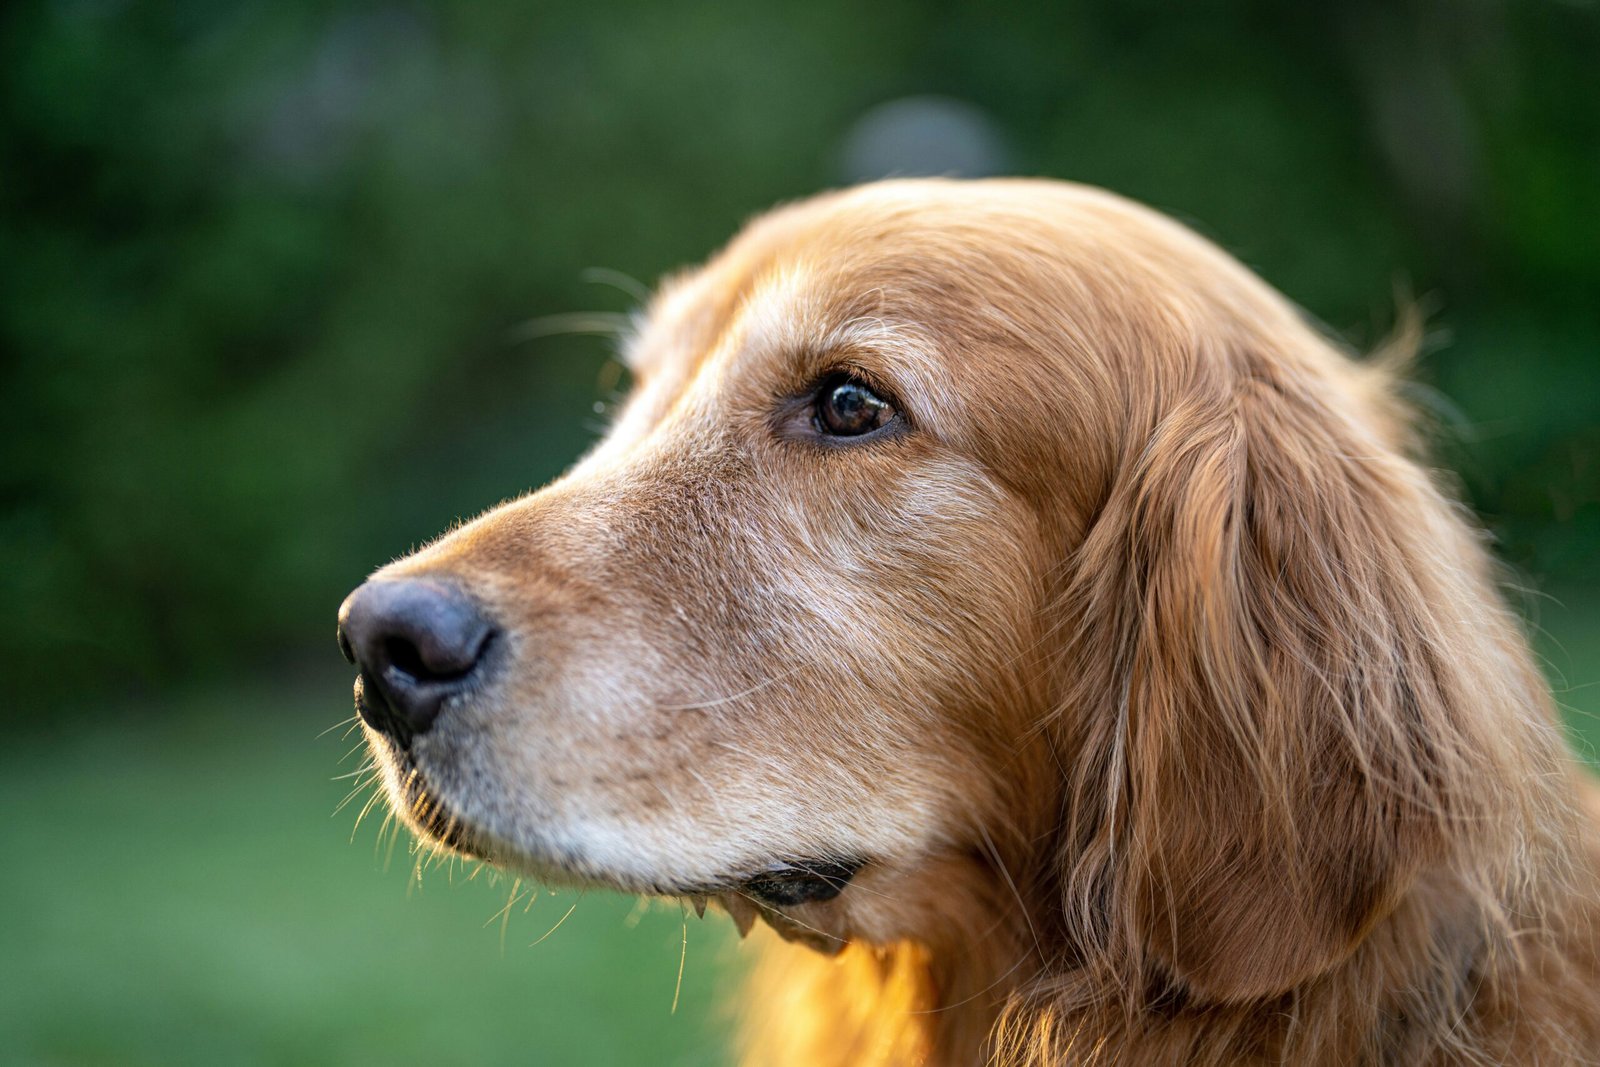
Labrador and Golden Retrievers combine a floppy ear structure with a love of water, which makes ear infections extremely common throughout their lives and more so as they age and their immune response weakens.
Poodles and Poodle crosses often grow hair inside the ear canal itself, which traps wax and debris and creates a physical barrier to natural cleaning. This hair is typically removed by a groomer during regular appointments. If you are managing grooming at home, ask your vet whether hair removal is appropriate for your specific dog and how to approach it safely.
For dogs with any of these breed predispositions, cleaning a senior dog’s ears is not an occasional task. It is a consistent part of every grooming session.
Connecting Ear Care to the Rest of the Grooming Routine
Ear checks work best when they are built into a broader grooming routine rather than treated as a separate task that happens when you remember to do it.
Every time you brush the coat, check the ears. Every time you trim the nails, check the ears. Every time you bathe the dog, check the ears. This frequency of checking means that any change from normal is caught within days rather than weeks, which is the difference between catching an early infection that resolves quickly with treatment and a progressed infection that requires prolonged treatment and causes lasting discomfort.
For the full picture on building a grooming routine that accounts for all of the physical changes that come with age, this guide to how to groom a senior dog at home covers every aspect of home grooming for older dogs. For the broader context of what changes about grooming as dogs age and why, the senior dog grooming guide covers the complete breakdown across coat, nails, teeth and ears.
FAQ
Can I use water to clean my senior dog’s ears?
No. Water left inside the ear canal creates a moist environment that encourages bacterial and yeast growth. Use only a veterinary-approved ear cleaning solution formulated specifically for dogs. If you do not have a cleaning solution available and the ears need attention, a vet visit is more appropriate than improvising with household liquids.
My senior dog hates having its ears touched. How do I manage this?
Start with desensitisation before attempting cleaning. Touch the outer ear flap during normal handling, reward immediately, and stop. Progress gradually to lifting the flap, then to touching the base of the ear, over multiple sessions before introducing the cleaning solution. A dog that has had painful ear infections associates ear handling with discomfort. Rebuilding a neutral association takes time but is worth the investment.
How do I know if the ear cleaning solution is working?
After massaging the base of the ear you should hear a squelching sound indicating the solution is moving through the canal. After the dog shakes, debris should be visible at the entrance to the canal, which you then wipe away. If repeated cleaning sessions produce no debris and the ears look and smell healthy, the cleaning is working as intended.
My senior dog’s ears smell even after cleaning. What does this mean?
Persistent odour after cleaning indicates the source of the smell is not surface wax but an active infection or underlying condition deeper in the canal. Stop home cleaning and consult a vet. Continuing to clean an infected ear delays proper treatment and worsens the condition.
Is it normal for a senior dog’s ears to produce more wax than before?
Increased wax production can be a normal age-related change or a sign of an early infection or underlying condition. If the wax is pale, soft and odourless and the dog shows no discomfort, increased production alone is not a cause for alarm but warrants more frequent cleaning. If the wax is dark, crumbly, thick or accompanied by any odour or behavioural change, a vet check is appropriate.
Final Thoughts
Cleaning a senior dog’s ears is a straightforward task when approached correctly and a damaging one when approached without care. The difference is knowing what to look for before you begin, using the right products and technique throughout, and responding quickly when something looks different from normal.
An older dog’s ears give you consistent, readable information about what is happening inside the canal. A neutral smell, pale wax and a dog that shows no interest in its ears tells you that things are well. A change in any of those signals tells you that something needs attention. Checking consistently enough to notice that change early is what keeps a manageable situation from becoming a painful and costly one.